We take pride in our products. From hand selecting each piece of lumber to the finishing polish that makes up our fine products.
Search This Blog
Tuesday, December 16, 2014
trouble with email
If you are or have tried to contact us via email I am so sorry for not getting back to you. We still can't get in. It seems we have been locked out. Please leave us a comment to this post. We will get to you asap.
Monday, December 15, 2014
Sharpie Mugs
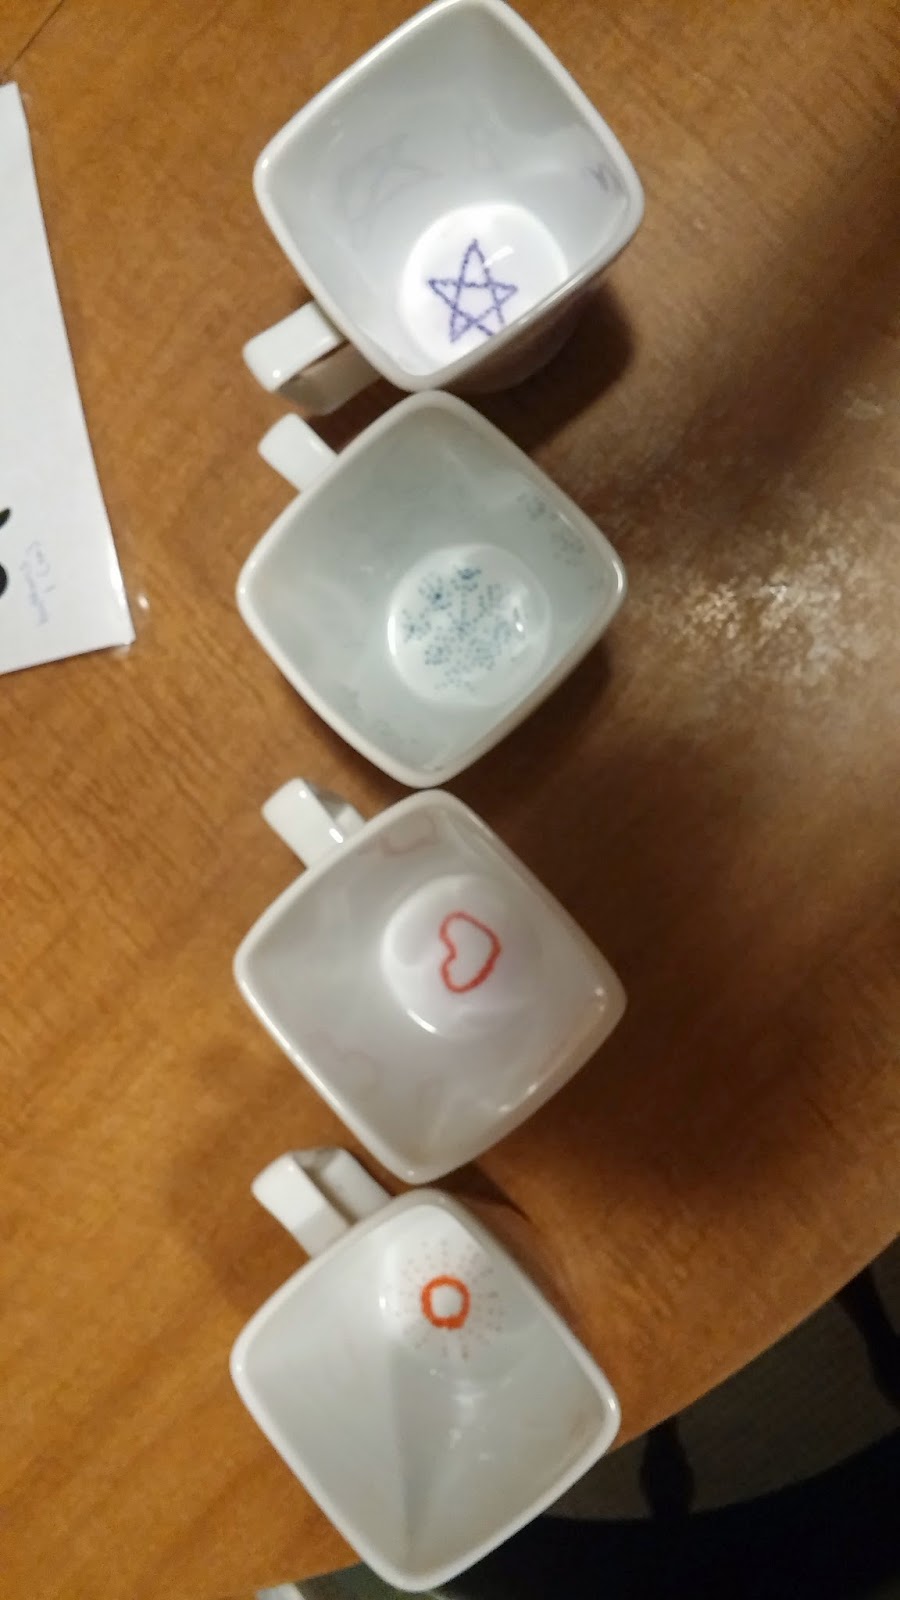
I know it isn't wood working but I had a fun project I wanted to do for a while now. I have seen the doodle art mugs with a sharpie. So I gave it a try. Here was the before mug 4 and before baking it:
Then I followed a few other blogs via interest and found what worked for me. I baked them on a cake pan because that is what was clean. All the blogs I looked at said to use a cookie sheet. They turned out great for me. I do see there was some blessing of the color. I am not sure if it was because of the pan. It was on the inside too. But you don't have to worry about it being toxic or anything. Baking it sets it to the porcelain.
Okay, back to the instructions. Do your art as you want. I messed up on my second, sorry didn't think to take a picture of it, so I just washed it and the ink came right off. Clean canvas to start over on. This didn't take me more than an hour on all four mugs. It actually is fun. I wanted to keep going with other dishes but thought I should cool my jets a bit and wait for another day. All the blogs I looked at said use oil-based sharpies. I didn't have that so I just used what I had on hand. They say it will fade over time. I will do an update later on and tell you what comes of it.
After I was done decorating them I put them in the pan, placed them in a COLD, important to remember they need to go into a cold oven. They need to warm with it. Set the oven at 400 degrees Fahrenheit for 40 minutes. All the blogs varied on temperature and duration to bake. I stuck with a 425 degree oven and 35 minutes. Because I have kids, and who know when I can get to it they were in an extra 8 minutes. Didn't hurt a thing. Turn the oven off and let them cool down with the oven. This will prevent the mugs from cracking from cooling too quickly.
Here is the finished line:
I had fun with this and decided to put shapes inside. It will be fun to see what the kids say when they finish their milk in the morning.
Yep, I can see me doing this on more stuff. What a great gift idea! Hope your projects are turning out as you want them to...better in fact. Have a wonderful day!
rabbit hutch
We are trying to move and we have SOOO MUCH STUFF ! What do we do with it? We try to sell it. But who wants to by a bunch of scrap wood and stuff! Nobody, that's who. So what do we do with it!? I show up One night with three new bunnies that need a home!
I know, I know....not the best solution but it turned out great!
In only an hour or so Nathan builds a bunnies hotel for the kids' new venture. Turned out amazing. Now if the woman who did the finishing work around here would get up and paint it! Sheeesh! 😉
Hope your day is going well. We are happy and healthy, smiling and loving the season.
Sunday, November 2, 2014
The Piano Desk at Bella's
The Piano desk is done!! We love how it turned out. The picture shows where it is sitting right now at Bella's downtown Twin Falls, Idaho. A friend of mine opened up this great store and I thought it would be fun to do the projects I am always finding and put them there. It was great to see it out of the shop too! Priced at $550.00 bench not included. It was a piece sitting around the store.

The Piano came with a fantastic face panel. I painted it an olive green and distressed it a bit, added coat hooks and BAM! a great piece for the entry way. I had a hard time not holding onto it. But, I don't have a house to put it in just yet.
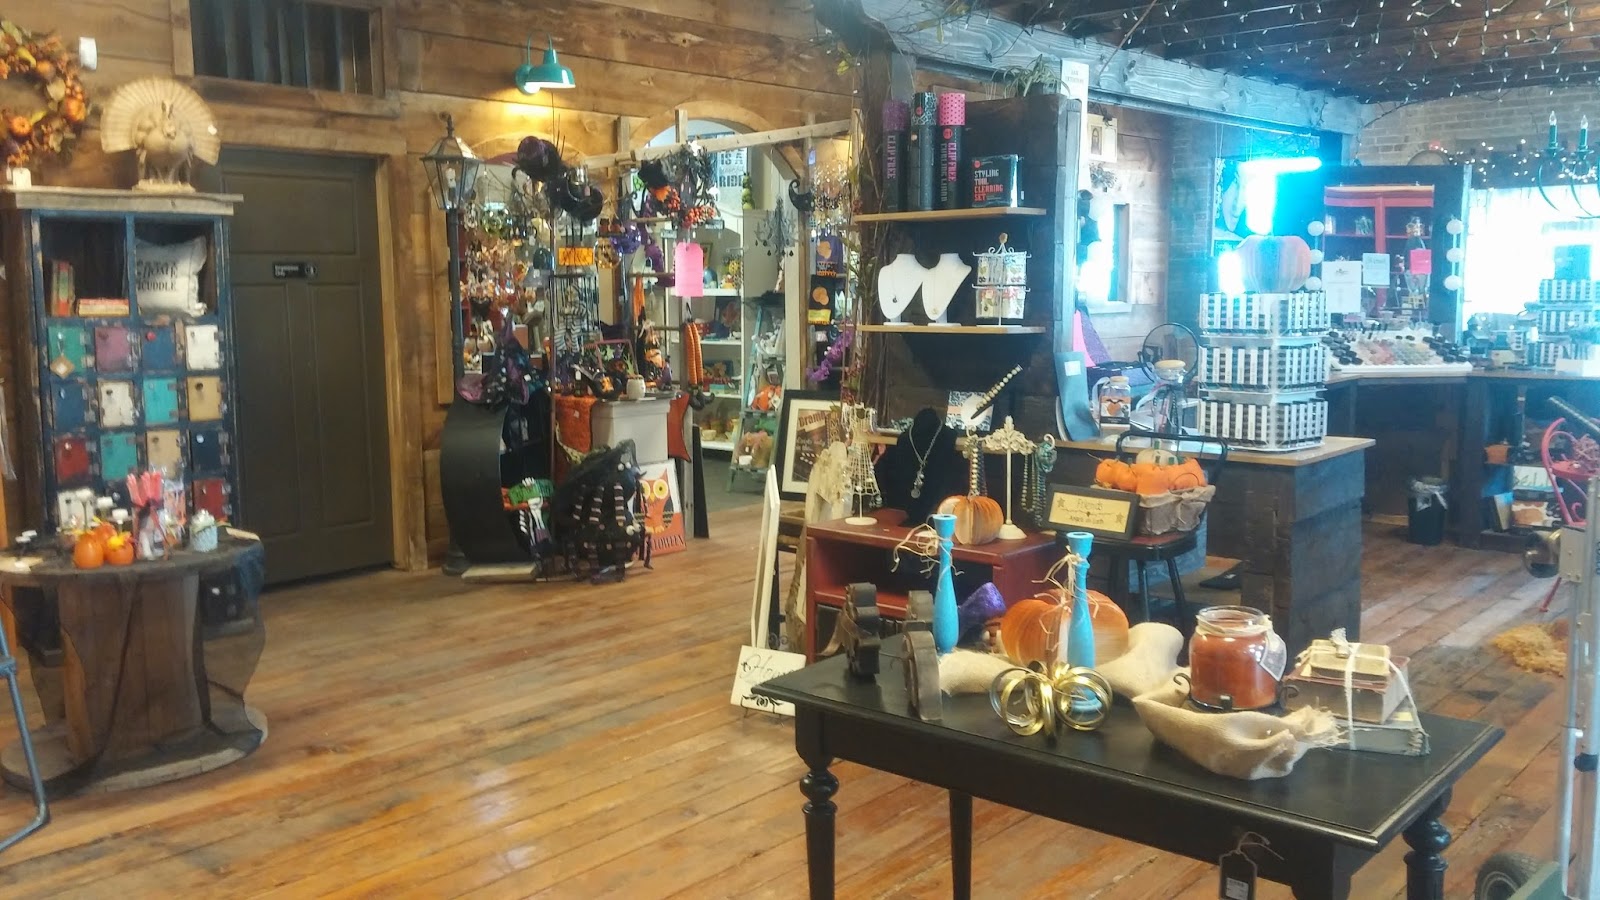
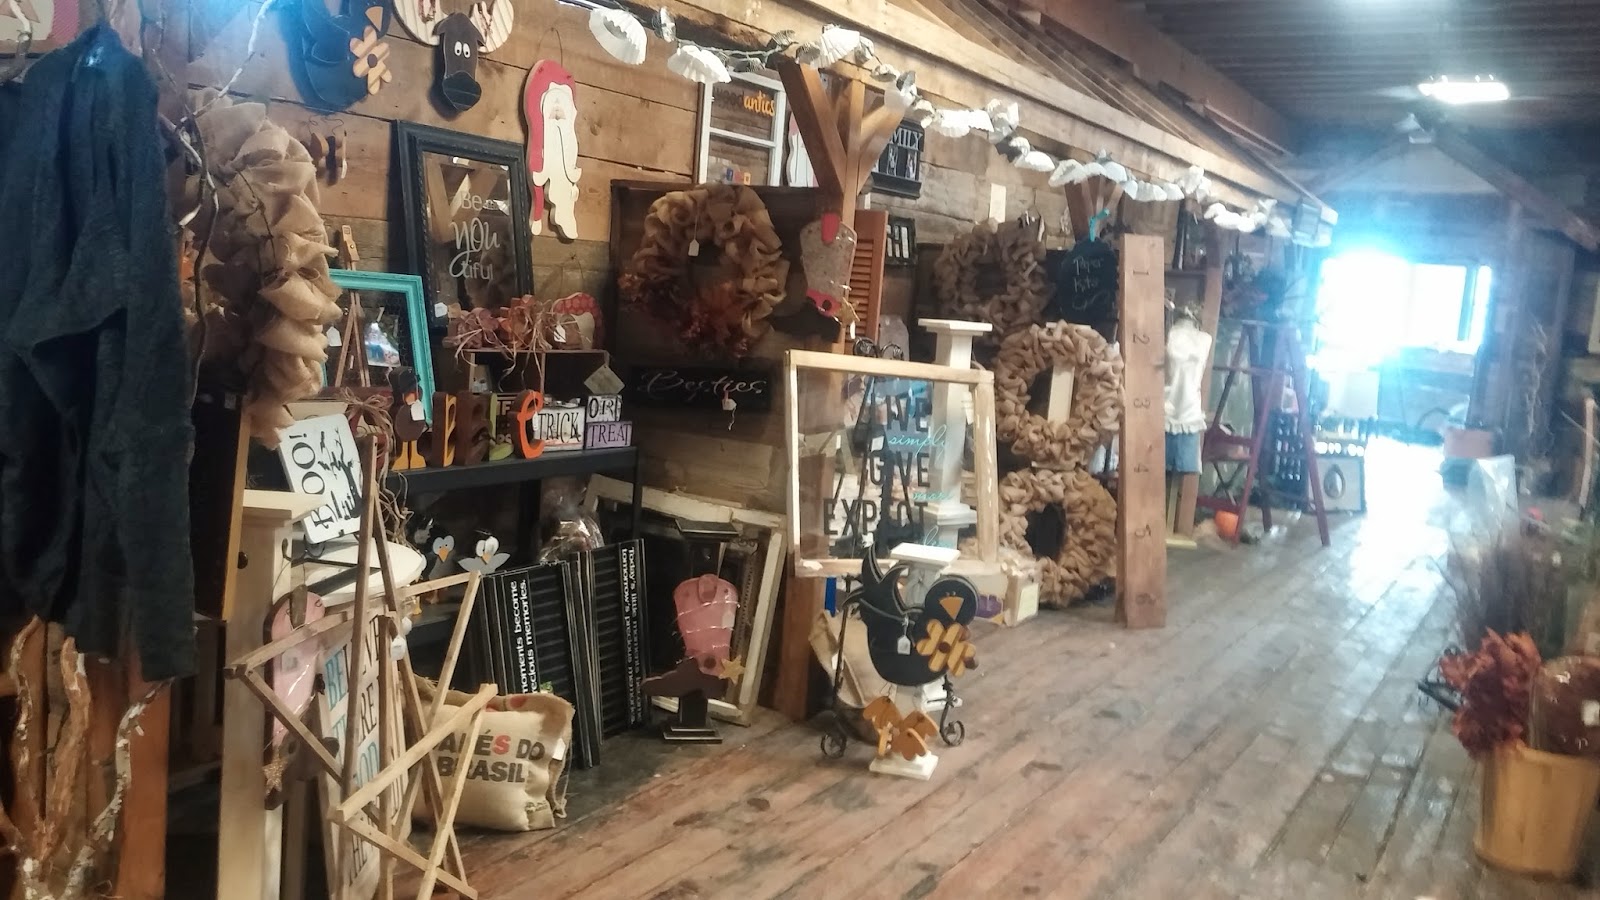
Here are a few shots of the inside of Bella's. Like I said, I LOVE THIS STORE!!! I was in a hurry so the pictures were done really quickly. They took an older building downtown and finished it up. You will find make-up, clothing, home decor, dishes, and lots lots more! And their prices are great! There are many vendors in the store too. Lots of options and even some candy and fudge. Who doesn't love fudge!?! This is a store I must go into around Christmas but I believe I will have to take Nathan with me to say no to most everything I want to buy.
You can follow Bella's on Facebook here: Bella's or visit their website here: Bella's website
The pictures do not do it justice. I love this store. You must go in and see it. It is just up from the Wonder Bread Store in Twin Falls, Idaho. We hope to have a few more pieces in the store soon. Just depends on our move and how soon it will take place.
Monday, August 11, 2014
Those Stairs!
I tried a few babies ago to paint the front of the stairs to the apartment. Just kind of hit a crazy notion to paint them. And at the time I was going through a big Red, White and Blue faze. Not a bad faze to venture through but only if the project doesn't get finished. So I grabbed a few cans of paint out of the cupboard and started the every other stair look. (Mind you I was prego or just had a baby, can't remember. I was still pretty post pardom or just plagued with mommy brain.) I only got the four stairs done and didn't care for it. So I left it. Now, a few years later, post baby number 4 and I am starting to see an end of mommy brain, I am ready to tackle those stairs again.
Before:
Only this time I am ready to do it with something better and more classic looking. I can hand a flag or quilted something on the wall to celebrate our nations colors. I don't need to go too crazy and paint fixed objects in my home.
So I found this chocolate brown color and thought...perfect. So I sanded down the stairs and started painting. Two coats later and this is what we have:
Don't mind the orange snow fence along the railing. It is to keep the kids from falling. We will remove it when they get older. Nathan did such a great job building our stairs and railing that I hate to hide it. BUT Safety first! Always!
Updating Furniture
We had a table given to us that belonged to Nathan's grandmother. It has seen better days. It isn't the fanciest table and chairs and it has gone through some children already. Rough life. But it serves it's purpose. I was getting tired of the outdated look and thought it fun to update it. We haven't done many projects lately so I though this would be a chance to clean out the paint shelf and entertain myself for the afternoon. The table is actually laminate and Nathan says I can't paint it so I am stuck with just working with the chairs.
Here is the before of one of the chairs:
Here it is work in progress: I took the pad off and decided I didn't want to replace it.
The finished color. It is a matte Olive color. LOVE IT!
Some still in the work in progress stage.
What I learned.
1. My hand gets really tired pulling up those decrative tacks. A blunt flathead screwdriver will not do. Rethink ever using them anywhere in my live.
2. One can of spray paint only equals a few chairs--all incomplete. the can feels full and heavy but it only goes so far. I needed to finish a chair before moving onto another. Hence, the two black chairs I painted and the bace and legs of the table. (not pictured sorry) At least those two chairs have high chairs in them so no worries.
3. no matter what, my husband will always laugh at what I do. Not in a mean way. Just how random and silly I am about my projects. Just wait for my next post.
4. on a serious note: spraypaint furniture is so much better. I tried a brown on one chair to see if I liked it before I went to the green. It left brush strokes and grooves that I didn't like. Spraying from here on out!
Saturday, January 4, 2014
Child's Doll House
This project was a fun one to research and fun to implement into a real project. The finishing product is raw because that is how it was ordered. It was built for a set of twin girls that love projects. They were so excited when they came to pick it up. It was a first for Nathan and we are pleased with how it turned out. Here are some pictures:
The pillars, door and door knob, windows and all are made from scratch. The roof top was fun to come up with as well. Turned out great!!!
The pillars, door and door knob, windows and all are made from scratch. The roof top was fun to come up with as well. Turned out great!!!
Child's Toddler Bed
Nathan built a bed for our little toddler for Christmas. It turned out amazing!!!
The legs actually turned out so good. Pretty proud of this project!
The painting was done by Aliece. Just a simple stencil and some patience. It turned out very well. The mattress fits snug and keeps the sheet in place. Before we got into place Christmas Day our little one was all over it. She loves it!!
The painting was done by Aliece. Just a simple stencil and some patience. It turned out very well. The mattress fits snug and keeps the sheet in place. Before we got into place Christmas Day our little one was all over it. She loves it!!
Subscribe to:
Posts (Atom)


